

Want to know how to disable laptop keyboard in easy steps? Here are some quick and easy steps. Now there are two modes; one temporary disconnect and the other permanent disconnect, i.e., keeping keyboard disabled even after a reboot.
Are you facing issues regarding your laptop’s keyboard? Browsing around to know how to disable laptop keyboard even after a reboot? Then you need to follow some easy steps that we are going to mention here. But before executing these you need to know what the version of your Windows is. You may use a USB keyboard apart from the inbuilt keyboard to keep safe.
The procedure of Temporary Disable of Laptop Keyboard
Now, this temporary disabling means the keyboard will get reactivated after reboot. This can be easily done from the Device Manager. This will disable the built-in keyboard of the laptop. Wondering from where do you get Device Manager?
Step 1: – Firstly, Go to the Start Menu and here you can find the windows search box.

Step 2: – Next, you can Type the “Device Manager” there and you will be shown a window known as Device Manager. On the other hand, you can find out also the device manager in control panel.

Step 3: – Under the Device Manager, you can find the option Keyboard in the keyboard section which has two options. Click on the option Laptop’s keyboard and then hit the option uninstall. This option will work temporarily as is till the time you reinstall it.

The procedure of Permanently Disabling the Laptop Keyboard
The only way to do so is permanently turning off the Window’s capacity to install the driver automatically. Now you might be wondering if you do so then later on in case of any requirement how will you use your laptop? This can be easily done using an external keyboard or USB keyboard. The driver of the external keyboard itself installs the system and gets the keyboard going work well.
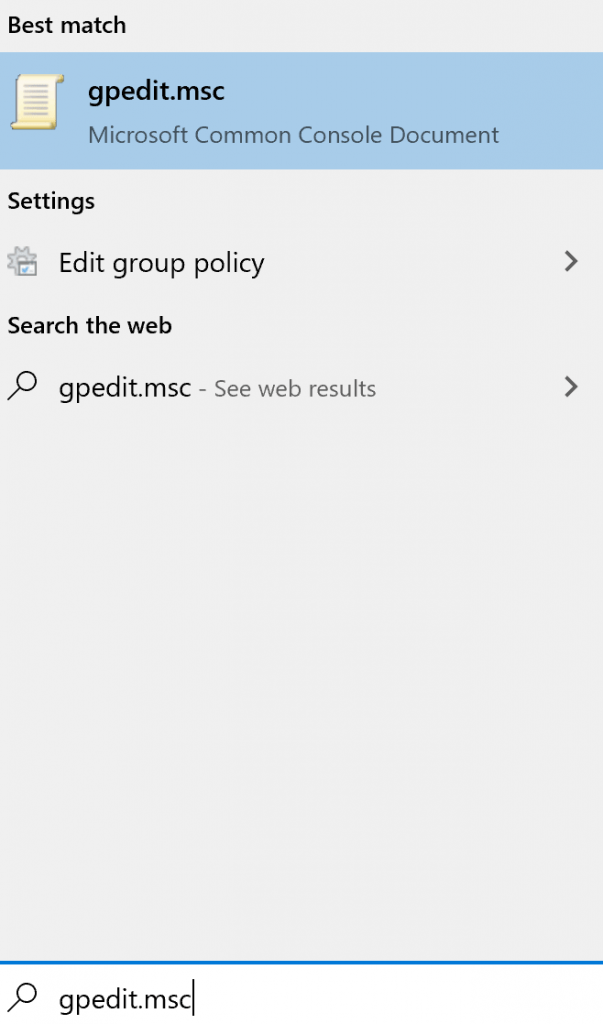
Step 1: – For permanent disable of the keyboard again you need to go to Start and in the search box and type gpedit.msc.
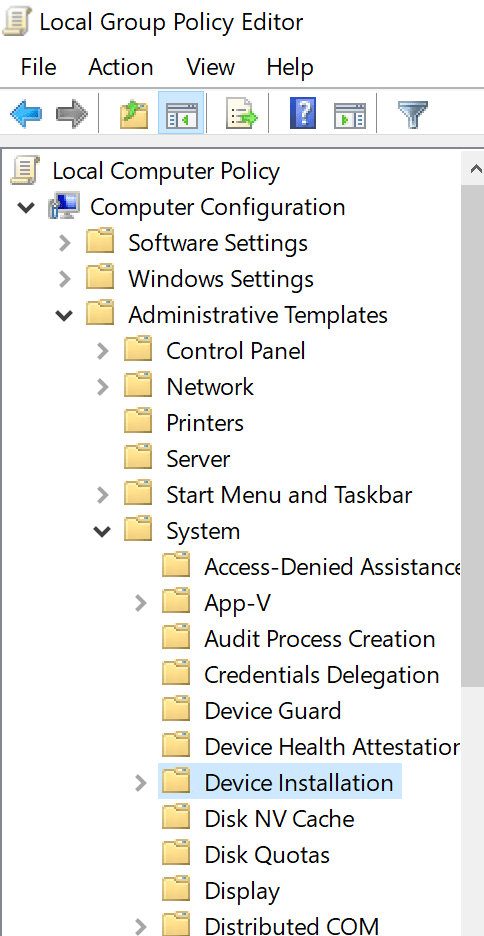
Step 2: – It opens up a window Local Group Policy Editor. Under Computer Configuration file go to “Administrative Template” and from the administrative templates system you can navigate the “device installation”.
Step 3: – After click this “device installation” then you can see the list of options in right side of the screen. You can see the first option named “Device Installation Restrictions”. You can click on it.

Step 4: – Under this “Device Installation Restrictions” window, you can see the several options. Then you need to find out and click on the last option that is “Prevent Installation of Devices not described by other policy settings”.

Step 5: – You have to edit this given option and set it to Enable.

Now the main job is done. Following the previous disabling procedure you have to disable laptop keyboard by going to the device manager. But now the after restart or reboot the keyboard won’t get reinstalled again.
Incompatible Driver Updating can also disable Keyboard
The installation process of the inappropriate driver is an unorthodox yet liable process of doing so. Hence you may refer to this process also as it automatically stops functioning. In case that driver is used to execute keyboard and mouse both then even mouse will also not work. The incompatible driver ceases all functions by default. So be on the safer part do keep a USB keyword and mousse access.
Step 1: – Here again, you need to reach to the Device Manager through the search option on Windows Search. Click the option Open by clicking on it.
Step 2: – Now you can expand the keyboard and then click on Standard PS/2 Keyboard option here. Hereafter right-click and click the “Update Driver”.

Step 3: – Then you have to select “Browse my computer for driver software” and then you have to select the option “Browse for Drivers On my Computer”, then unchecked the tick box “Show Compatible Hardware“.

Scroll down the list of the manufacturer, select the manufacturer and then hit Next. Then option Yes —> Close —> Restart.
Once your system restarts the keyboard of the laptop disabled. On the other hand, if you want to enable your keyboard then, you can go to the device manager and update.
See Also…
Printer Spooler Fix- How to Reset the Spooler to work properly(Opens in a new browser tab)
Best Way to Disable Ads on Facebook(Opens in a new browser tab)
How to Compare Two Files in Notepad++(Opens in a new browser tab)