

This post provides how to create Distribution groups in office 365 dynamically. In general, distributed groups perform to send emails to the specified email addresses. The email lists dynamically created without involving any manual works. Usually, system administrator or IT person can check that group email addresses and manage those emails for adding or deleting when needed. Additionally, distribution groups are working with by way of you setting the rules or fixing some predefined conditions.
Steps to create a dynamic distribution group in office 365
Moreover, the below step by step tutorial will help to create a distribution group in Microsoft office 365 versions in the admin panel.
Distribution Group in Office 365 Admin Center
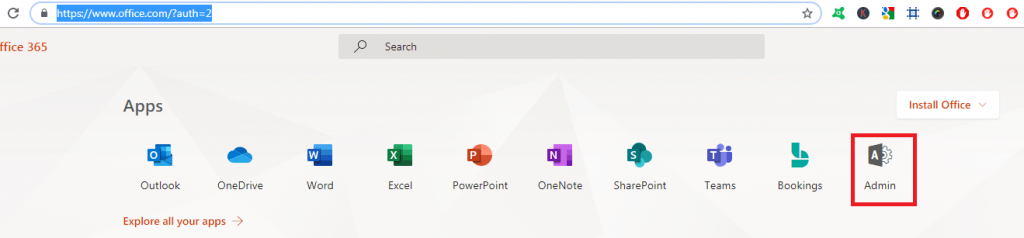
Step 1: First login the office 365 admin account for the following link: https://www.office.com/?auth=2

Step 2: Enter the valid credentials and open your account.
Step 3: Next click the Admin Option. After that, Microsoft 365 admin center will open the new tab.
Step 4: In the left navigation, pane finds out the option “Admin centers” and expand that drop-down list then click “Exchange“.


Step 5: Hereafter, the new tab open and loaded into your browser. Go to that page first and click the “recipients” option for the left navigation pane.

Step 6: Click the “groups” option here.

Step 7: Under the “groups” navigate the small down arrow and click on it.
![]()
Step 8: Select the option “Dynamic distribution list” for the above drop-down list.

New dynamic distribution list
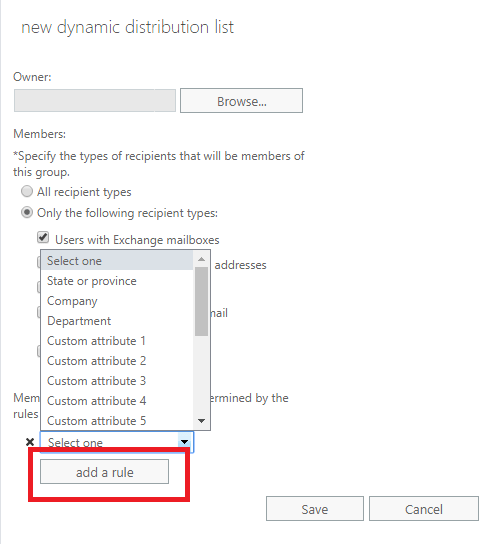
Step 9: Next “new dynamic distribution list” small popup will open in your browser new tab and filled the appropriate pieces of information like display name, alias and notes. Browse and select the owner whenever required.

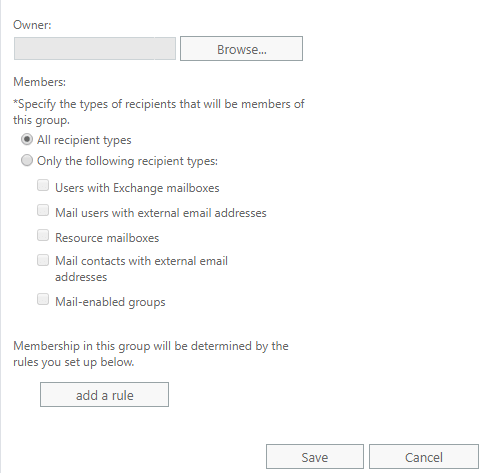
Step 10: Under the ‘Members” before you are choosing the option you decide this will apply for all recipient types or the specified recipients only.
Step 11: For now, I choose the “Only the following recipient types” option then tick the checkbox for “Users with Exchange mailboxes“.

Step 12: Next select the appropriate rule you wanted and after click “ok” button. If you’re going to assign another condition, then click the “add a rule” button again and created your rules. Please note that this option is not mandatory. So that if you wish to create new conditions only using this option. Otherwise, leave it.
Step 13: After all steps completed then click the “Save” button. You are Done! You have created a new dynamic distribution group successfully so far.

You may also consider this article 
How to hide friends on Facebook App for Mobile & Computer
Can you block someone from emailing you on Gmail Account?